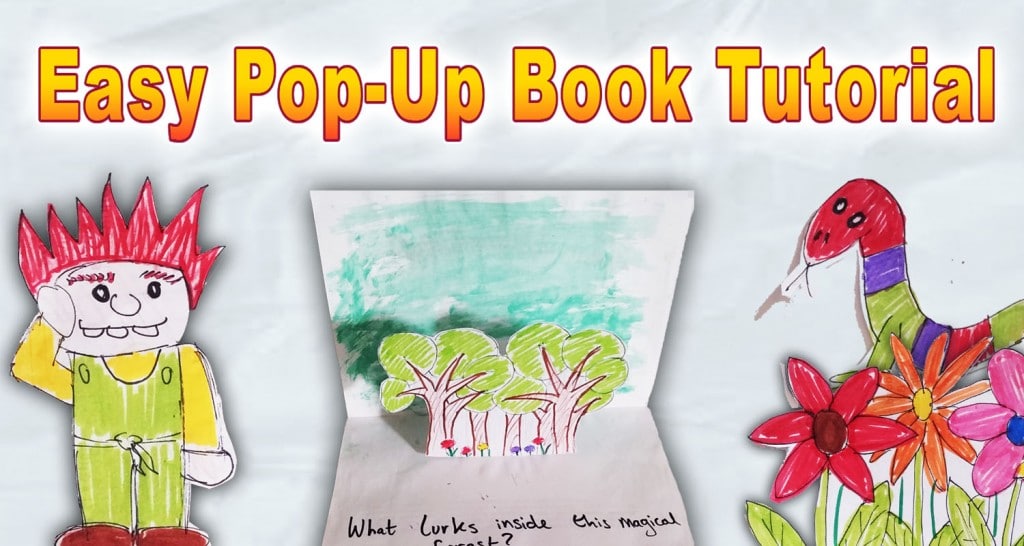
Easy Pop-Up Book Tutorial (with images)
Today I am going to show you an exciting way to make story writing more fun for kids. Pop-up books are a brilliant for making stories literally pop off the page and bring them to life. A pop-book can be the perfect birthday gift and best of all you can make it from materials around the house for free. Follow my easy pop-up book tutorial and you will be able to make a pop-up book within hours!
Pop-Up Book Tutorial:
What you will need:
1. A4 papers or cards
2. Pen/pencil
3. Colouring-in materials (crayons, paint, felt-tip pens…)
4. Scissors
5. glue
Step 1:
Plan out your short story, using a storyboard. This storyboard template is perfect for this task! Remember to keep the story and illustrations simple. At this stage, you should also plan out the pop-up elements of your pop-up book.
Here are some interesting pop book ideas to write about:
- Pop-up Animal: Write about your favourite animals.
- Space Project: Learning about the solar system? Create pop-ups of all the planets you know about.
- Re-tell a fairy-tale in a pop-up book format.
- Monster book: Create a scary pop-up book for your friends with monsters popping out at every page.
- Friendship Book: Similar to a friendship pop-up card. Make a pop-up book for your friend with lovely messages on every page.
Step 2:
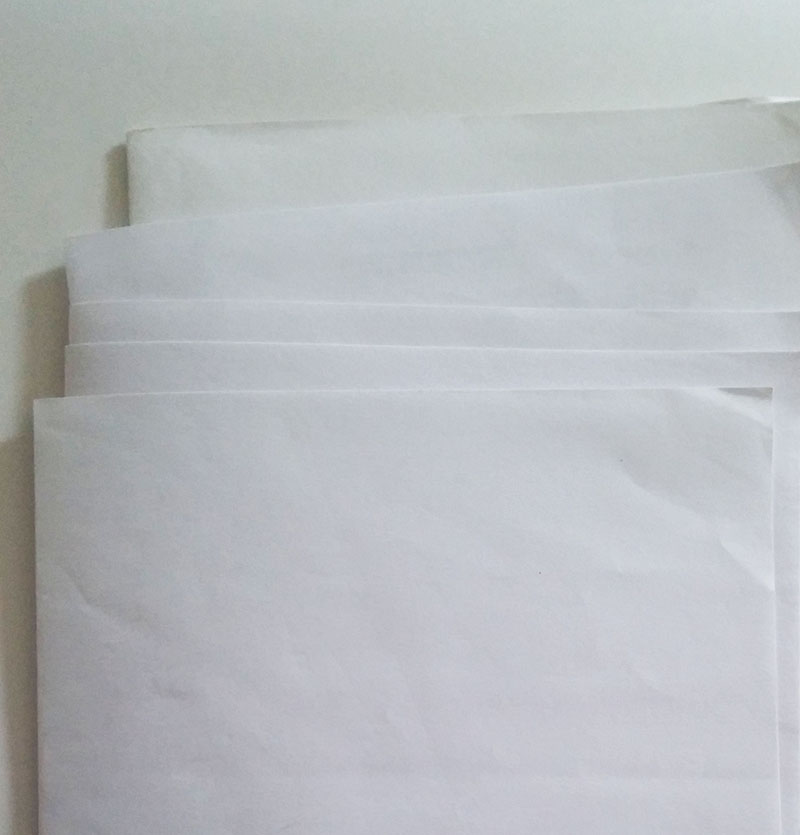
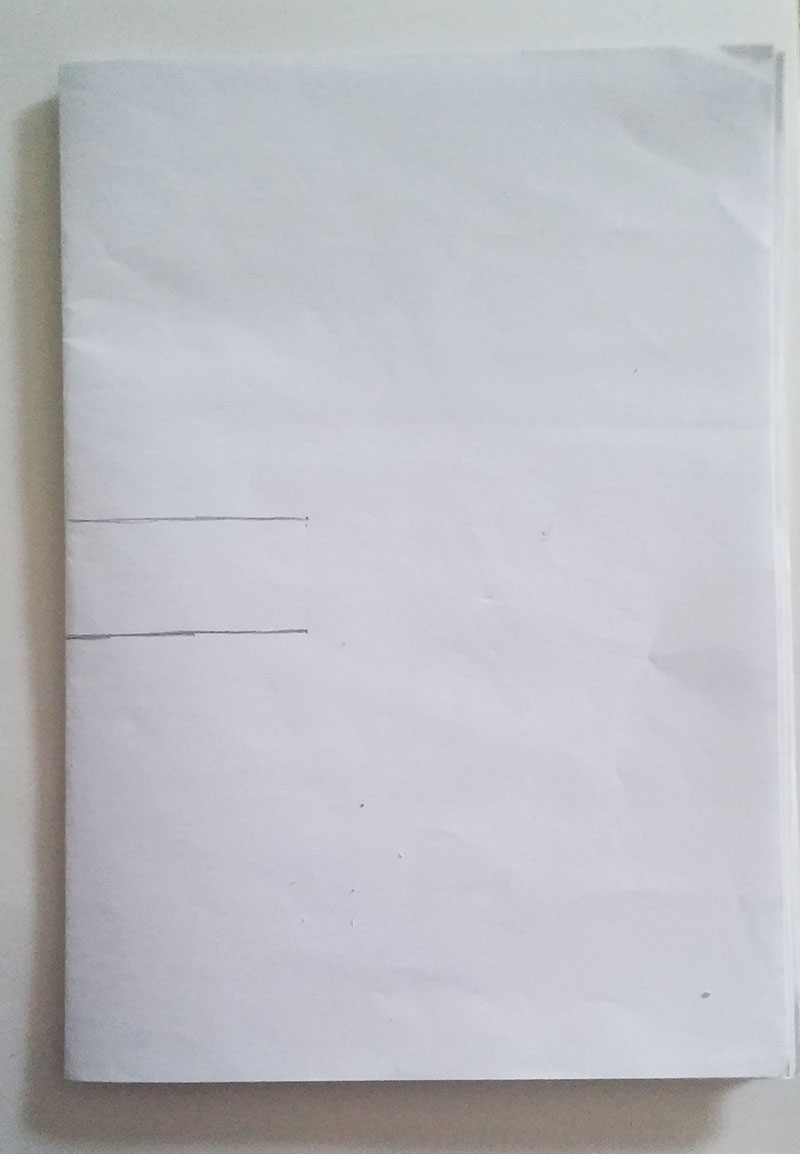
Fold all the A4 paper you need for the actual story pages in half (excluding front and back cover). Pile all these folded papers together equally and draw 2 parallel lines on the top paper. The lines should be around 5cm inwards, with a gap of 2.5cm between them.
Step 3:
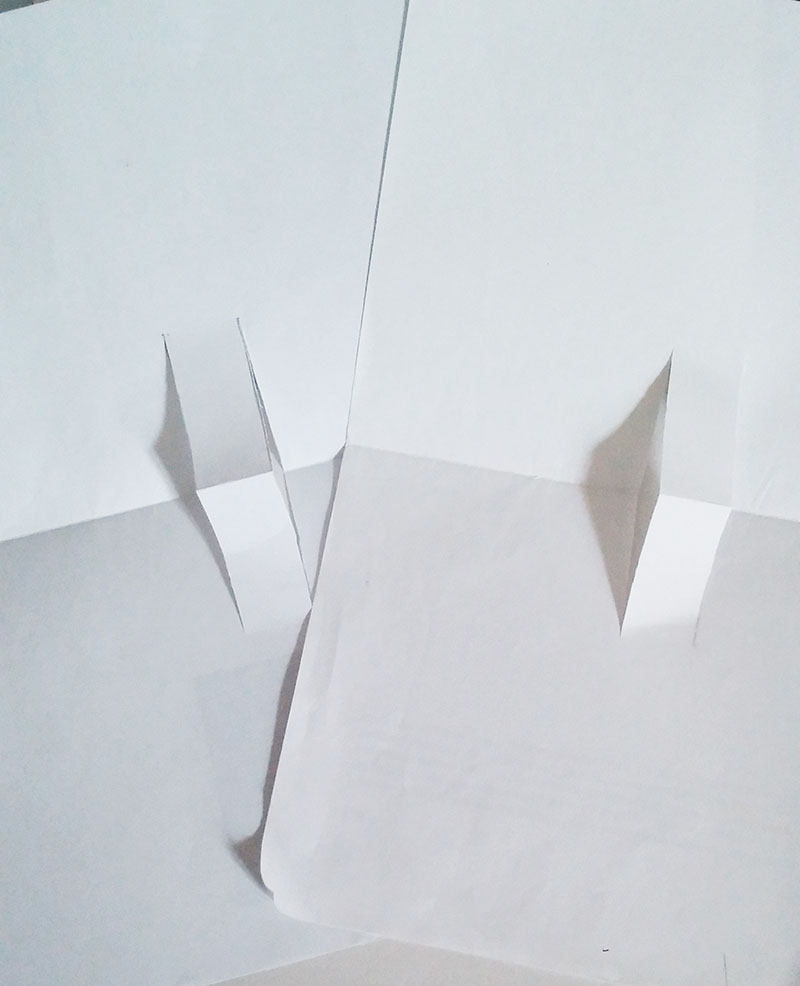
Now cut those parallel lines out. Make sure an adult is helping you with this part and the next step! All your story pages should have cuts or silts in them as shown. Pull the cut part outwards.
Step 4:
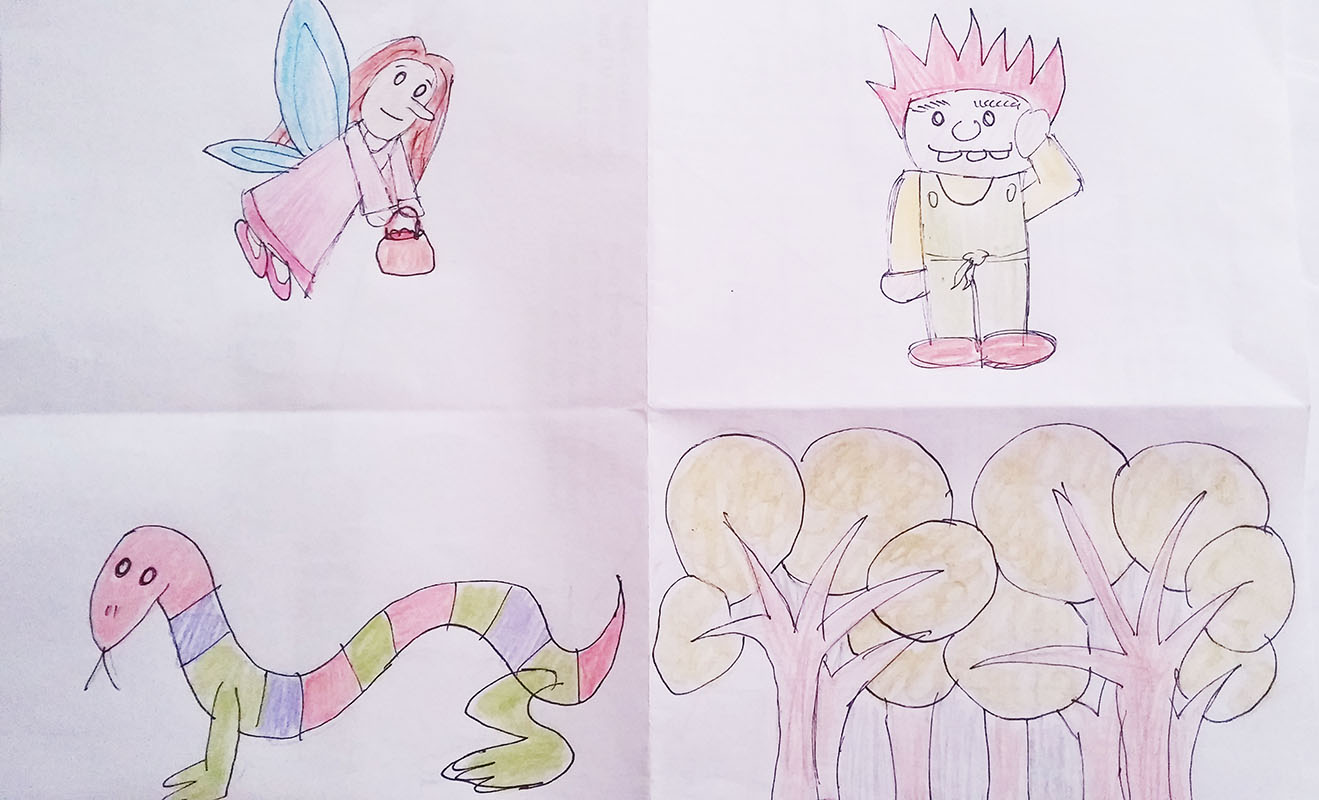
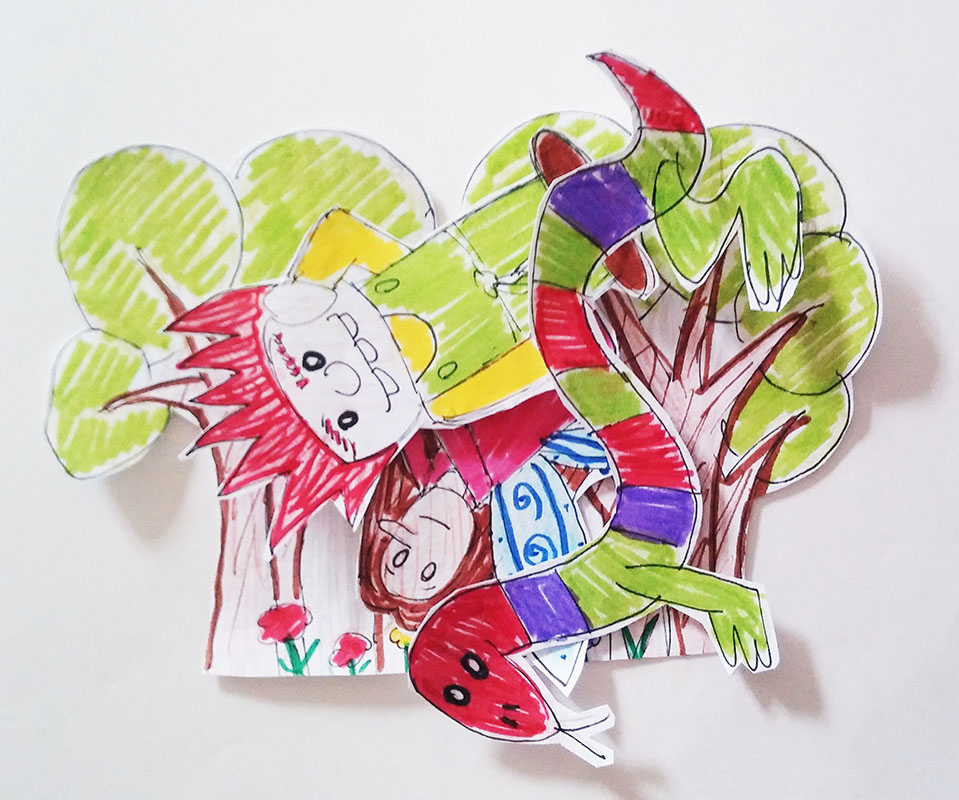
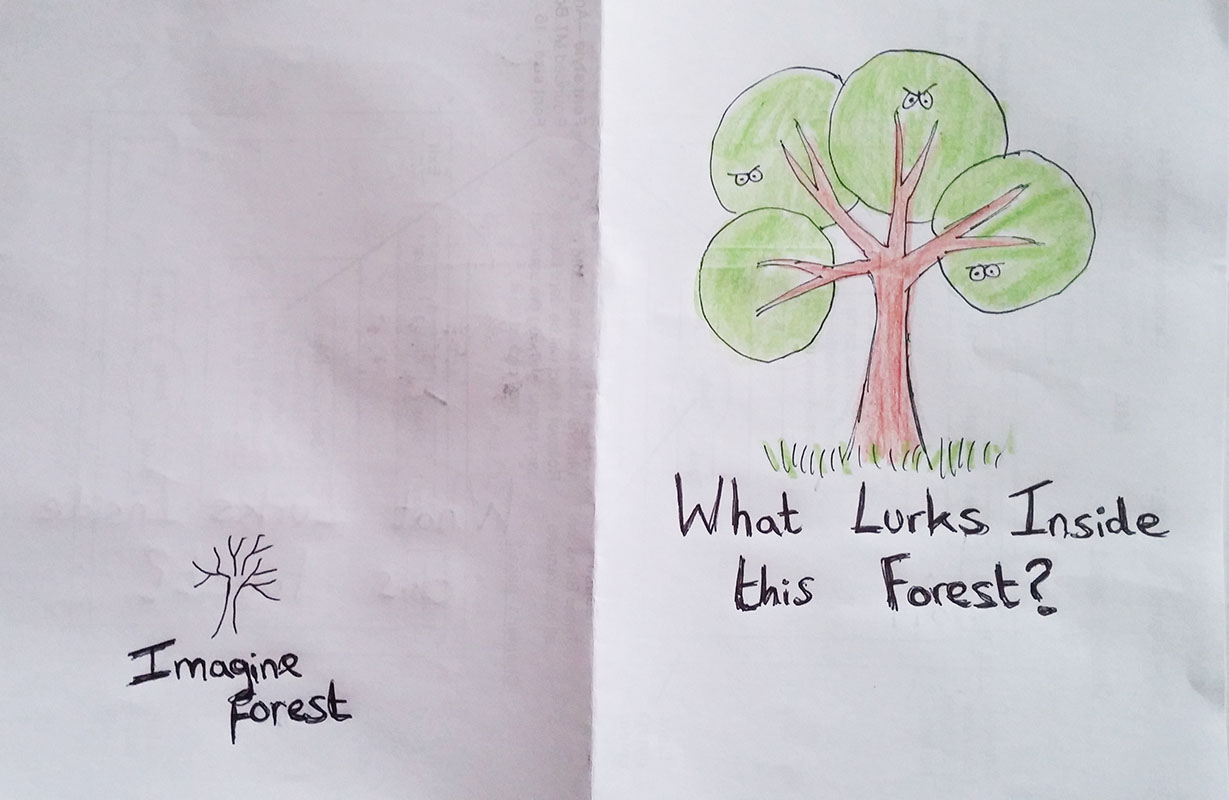
Make your illustrations on a separate paper. You can fold the paper into 4 parts to ensure the illustrations don’t end up being too large for your pop-up book. You should have one illustration per page for your pop-up book. Colour your illustrations in and cut them out:
Step 5:
Write in the story text at the bottom of the folded papers. Use a pencil first and then you can go over with a pen. Or if you’re really feeling confident you can use a pen straight away!

Step 6:
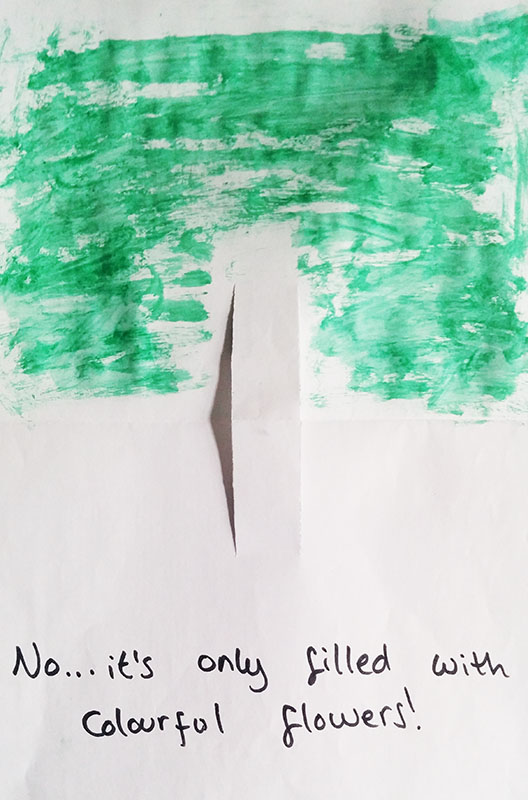
Colour in the background for each page, leaving the tabs blank. You can use any design and any colouring-in materials you want.
Step 7:
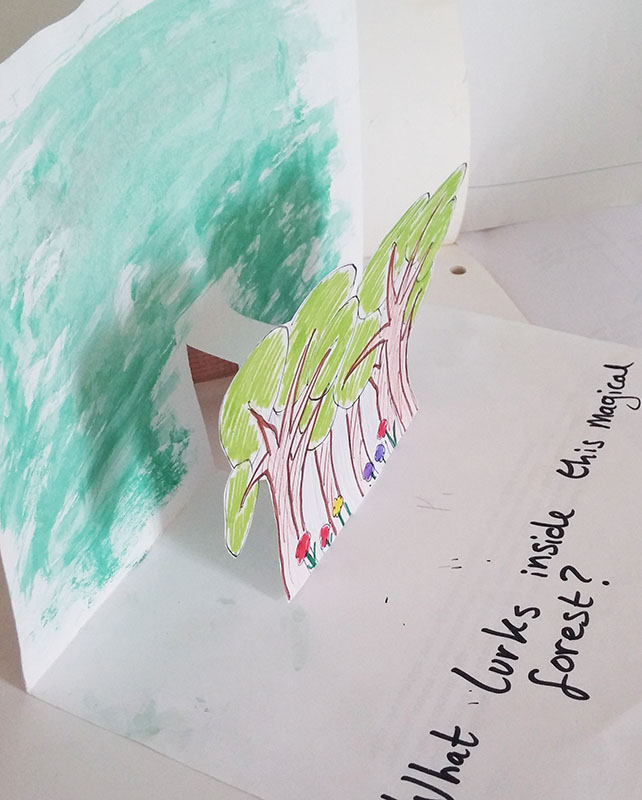
Apply glue to the bottom part of the tab and stick your illustrations onto the correct pages. Carry on for each page and illustration in your pop-up book.
Step 8:
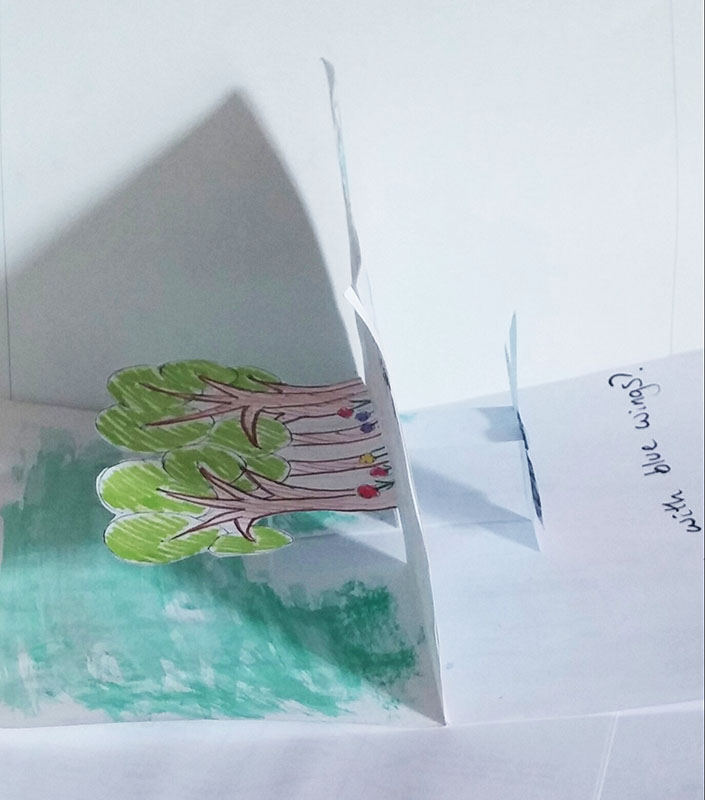
Glue pages back to back, as shown in the image. Ensure you do not stick the tabs to the pages (this will stop the illustrations from popping up). Your pop-up book is almost done now.
Step 9:
Finally, make the book cover by folding another A4 paper in half. Design your front and back cover and colour it in. Then stick this page to the other pages to form a book cover.
Step 10:
Your pop-up book is now complete! Have fun reading it! You can also create easy pop-up cards by following this tutorial for any occasion, such as Christmas or Halloween (you will only need 2 A4 papers for a pop-up card).
Thank you for reading my easy pop-up book tutorial! For more fun paper craft ideas for kids, click here! Why not send us pictures of your pop-up book designs and we will share them on our Twitter and Facebook? Email us at: info(at)imagineforest.com
Do your kids love writing their own stories? Join our website to create your own story online!


Comments loading...