How To Make A Pop-Up Christmas Card In 5 Steps
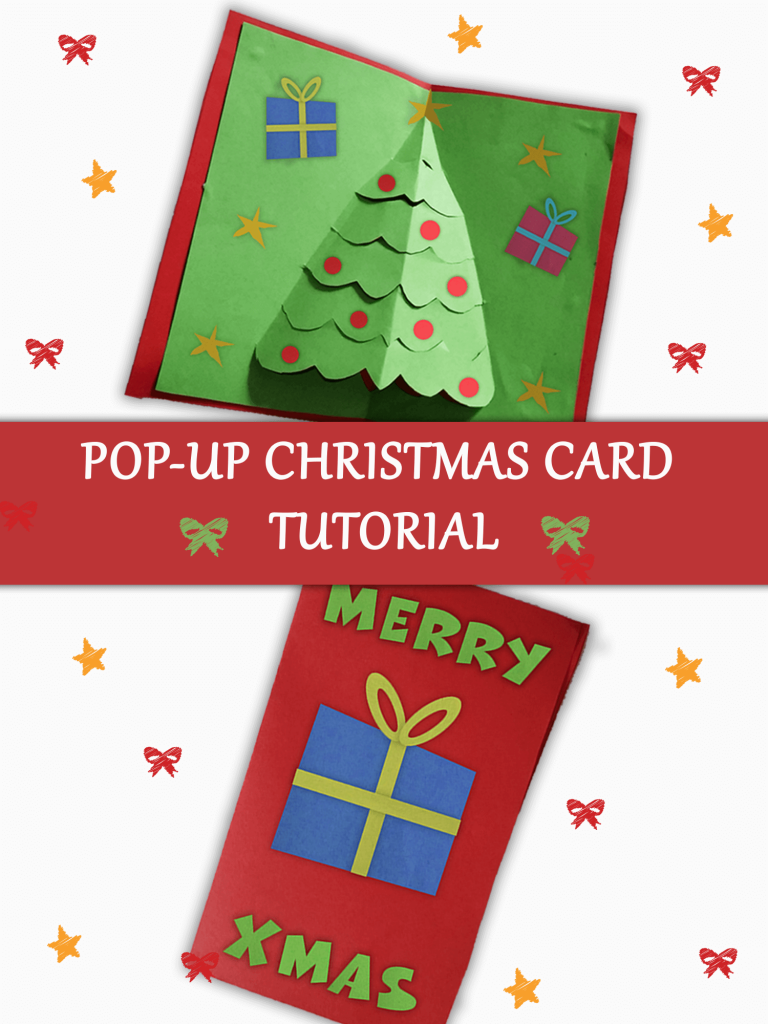
There are only a few days left until Christmas! While everyone else is busy down at the Christmas card aisle in WHSmith or Asda. Why not spend your time creating your own pop-up Christmas card with this festive tutorial! Creating your own Christmas card is more meaningful and fun than going out and buying one from the shelf. You can even include your own message and decorative finishes to suit the person you’re giving it to! Also getting the kids involved, will improve their creativity and get them to think about the person they are giving the card to. Some say crafting can be a time-consuming process, but with my tutorial, you will have a finished pop-up Christmas tree card in a matter of minutes!
Pop-up Christmas Tree Card Tutorial:
What you will need:
- Scissors
- Glue
- 2 coloured pieces of card/paper (one smaller than the other paper)
- A pencil
- Decorations (paper, ribbon, wool – anything you like!)
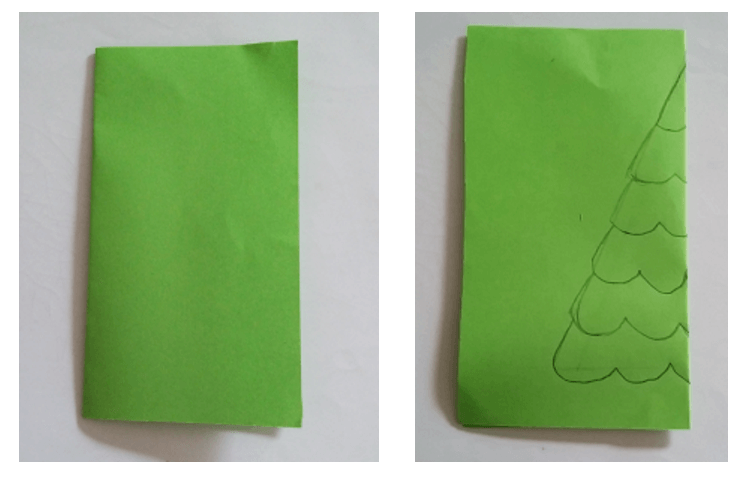
1. First fold the smaller piece of green paper in half and draw half a Christmas tree:
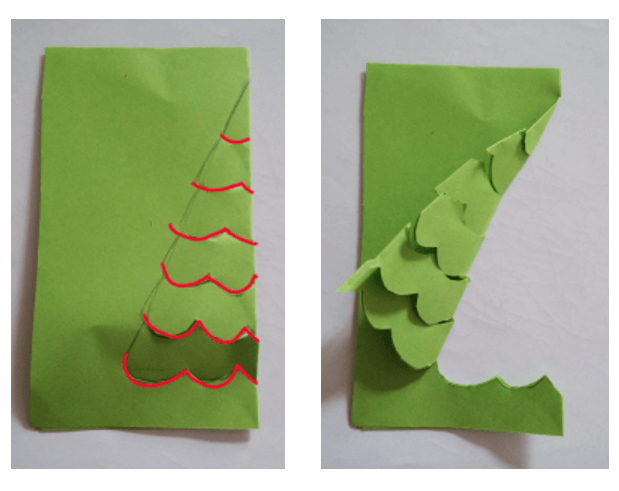
2. Next ask an adult to cut the bottom lines of the Christmas tree, as shown by red lines on the image and then fold outwards:
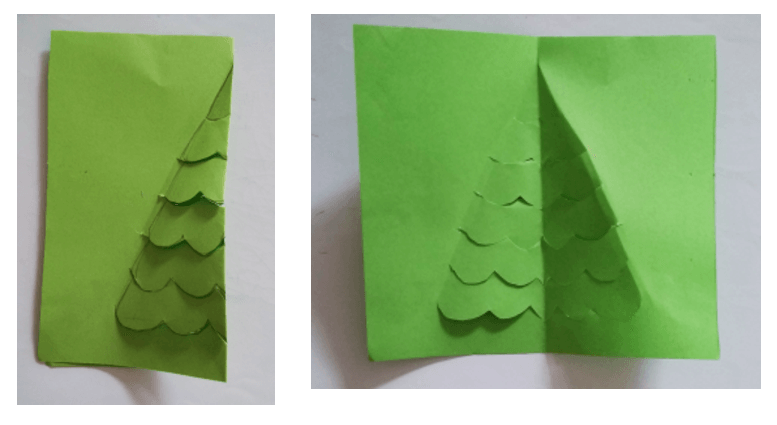
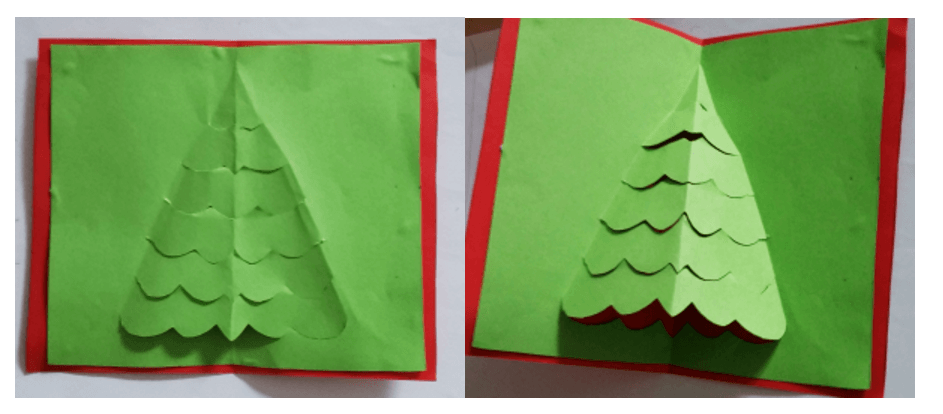
3. Now that you have created the fold lines, put everything back and open the card up:
4. Find the bigger piece of paper and using some glue, stick it to the smaller green paper. Make sure you don’t stick the pop-up Christmas tree, otherwise it won’t pop when you open it!
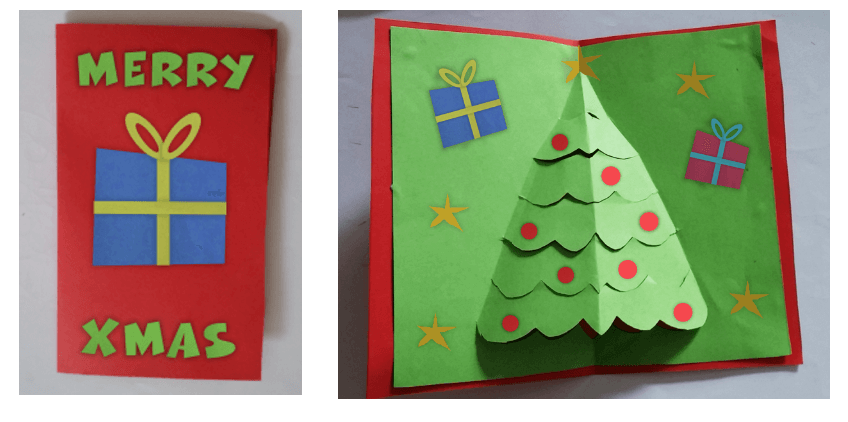
5. Your pop-up Christmas tree card is now done! The very final part is to decorate it using anything you like. You can even write a message inside and give it to a friend or family member!
You don’t need to stop here! Check out this super easy pop-up book tutorial. Instead of a card, you can create a whole pop-up book about the festive season and give it as a gift to someone. Got any more fun and creative ideas for the festive season? Let us know by commenting below!
Have a merry Christmas!


Comments loading...