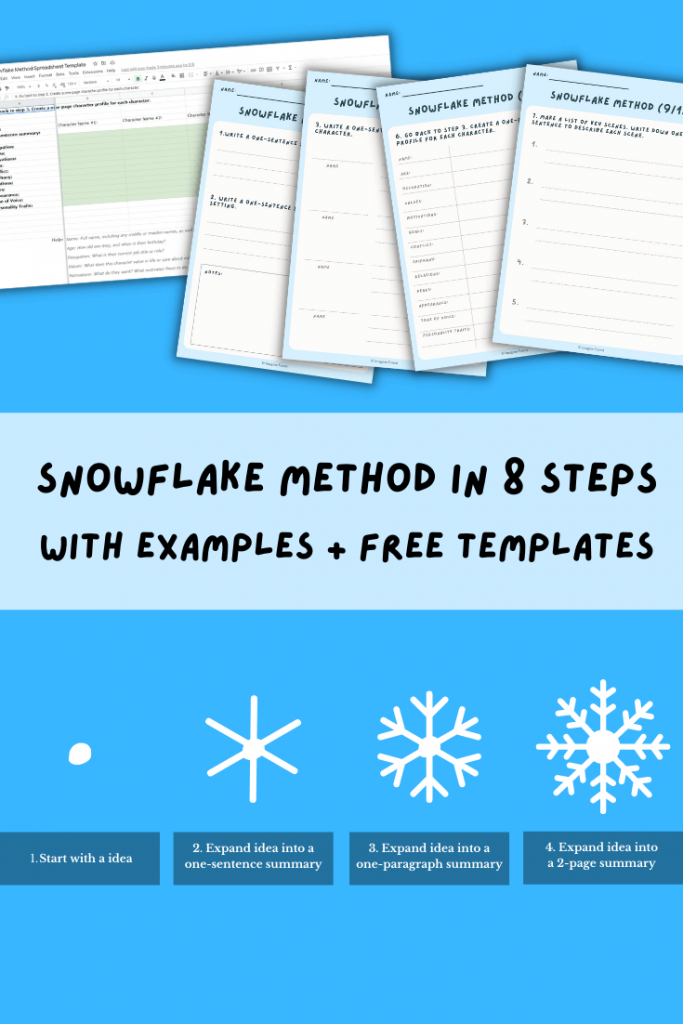
Snowflake Method in 8 Steps With Examples + Free Templates
Ready to plot your story idea? The snowflake method is a brilliant technique for outlining your story ideas in just a few simple steps.
Originally created by Randy Ingermanson, the snowflake method has quickly become one of the ’go-to’ tools for both beginners and experienced writers. The basic idea behind this method is that you start off small, and then keep on expanding until you end up with a fully formulated outline of your story (or the snowflake).
Just like all tasks in life, everything is better when it’s simplified and small-sized. Just imagine if your parents ask you to clean the whole, entire house – That could take ages! Now imagine if your parents asked you to just wash the dishes – Okay, that seems a lot more manageable, right? And then you can mop the floor, take the trash out, clean the cat and so on. Eventually, without even realising it, you cleaned the whole house! Applying this exact concept in story writing means that you can start off small, and eventually have a complete novel at the end.
In this post, we have outlined the snowflake method in eight simple steps, along with examples to help you learn this super easy story plotting technique.
You might also want to try the story mountain method for outlining your story ideas or even the three-act structure.
- What is the Snowflake Method?
- Snowflake Method in 8 Easy Steps (With Examples)
- 1. Write a one-sentence summary of your idea.
- 2. Write a one-sentence summary about the setting.
- 3. Write a one-sentence summary for each main character.
- 4. Go back to step 1. Expand your one-sentence summary to a paragraph.
- 5. Go back to step 2. Expand your setting description to one paragraph.
- 6. Go back to step 3. Create a one-page character profile for each character.
- 7. Make a list of key scenes. Write down one sentence to describe each scene.
- 8. Write a 2 page summary of what your story is about.
- Benefits of the Snowflake Writing Method
- Free Snowflake Method Templates
What is the Snowflake Method?
The snowflake method is a technique for outlining your story ideas. You start off with a simple sentence and keep adding to it. The end result is a complete structure of your story’s plot, characters and key scenes.
When many writers start working on a novel, they tend to have an idea, and then start processing that idea chapter by chapter. Let’s say our story idea is a modern-day fairy tale about a homeless teenager who becomes a millionaire. This chapter-by-chapter approach means that we may brainstorm our plot based on each chapter:
- Chapter 1: Introduce the main character
- Chapter 2: Show flashbacks of early childhood
- Chapter 3: The main character gets attacked by another homeless kid.
- And so on…
When writing your story like this, it feels heavy and tiresome. Yes, you have broken your big novel down into chapters, but you completely skimmed out important story elements, such as characters and settings. You also have very little idea of what your story is really about, and what the moral of it is. You can use our chapter book creator to make your own chapter book online.
The snowflake method focuses more on the story idea and develops this idea from every angle before jumping into the actual writing of the story. Here is what the steps would like when taking the snowflake approach:
- Write your idea down in one sentence.
- Expand your idea into one paragraph.
- Make a list of characters.
- Write a paragraph describing each character’s role in the story.
- Think about the setting. Write a one-paragraph summary to describe this setting
- And so on.
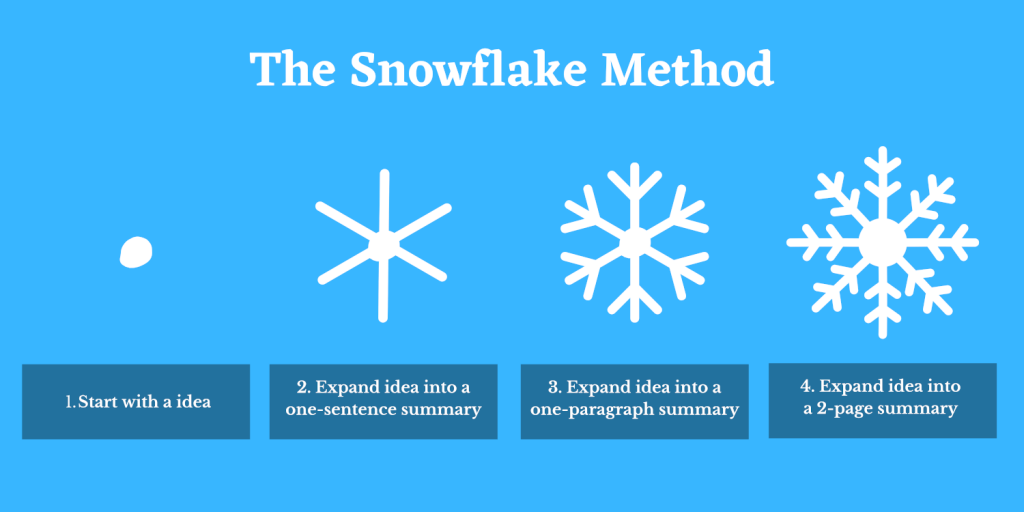
We’ll explain these steps in more detail below. For now, all you need to know is that the snowflake technique is all about starting small, and then expanding until you essentially have a draft of your story.
Snowflake Method in 8 Easy Steps (With Examples)
How do you do the snowflake method? Before you begin, you’ll need a story idea. You can use an idea generator app or find inspiration from anywhere in your life. Once you have an idea ready, you can complete the following snowflake method steps to outline your idea:
1. Write a one-sentence summary of your idea.
Your story idea is likely to be in pieces, and that’s completely fine. Just take some time to bullet point down all the ideas you have in your head. From all the scribbles, try to summarise your idea in just one sentence alone. Give yourself plenty of time – In fact, Randy Ingermanson recommends spending at least 1 hour on this step.
This one sentence should provide an overview of your entire story in the shortest words possible. Try to aim for between 6 – 15 words in your sentence. Randy also recommends that you do not include any character names in your one-sentence summary. Here are some examples of one-sentence story summaries:
- A retired nurse discovers a deadly disease on holiday.
- Living on the streets, a teenage girl finds an alien weapon.
- A shy girl embarks on a journey to become a world-famous singer.
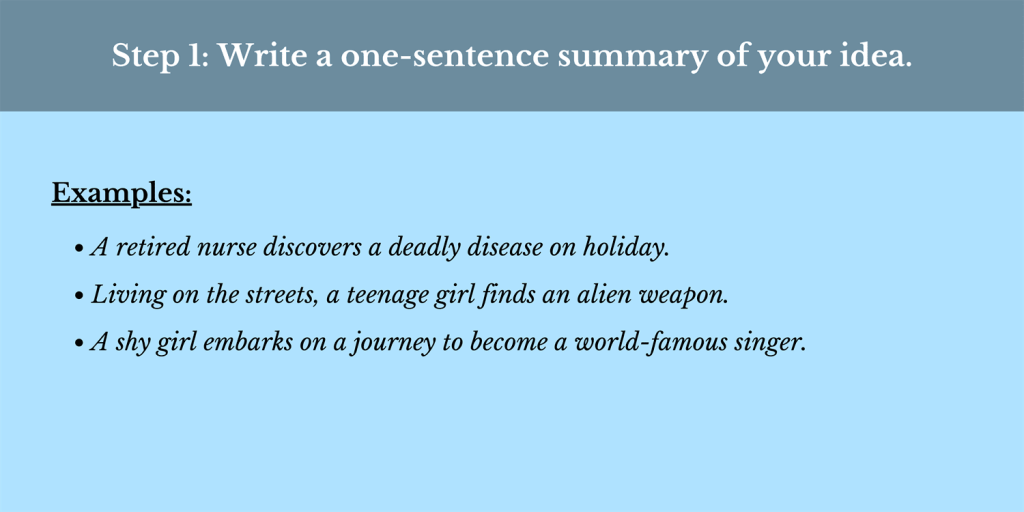
All these example one-sentence summaries include a reference to a character and something that happens to them. Using these tips try creating your own one-sentence summary now, and share it with us in the comments below.
2. Write a one-sentence summary about the setting.
An important story element is the setting. Randy’s original snowflake method does not reference settings, but we think it’s helpful for new writers to think about this element. When it comes to settings, this could include a physical location or references to a particular time period. For example, the woods, a haunted house or the year 3,000.
Think about where your story will take place. Here are some examples of one-sentence summaries for settings:
- During the summer holidays on the tropical island of Saint Lucia.
- The dark streets of London in the 1830s.
- A futuristic city in the year 2,895.
- Inside a haunted house on Halloween night.
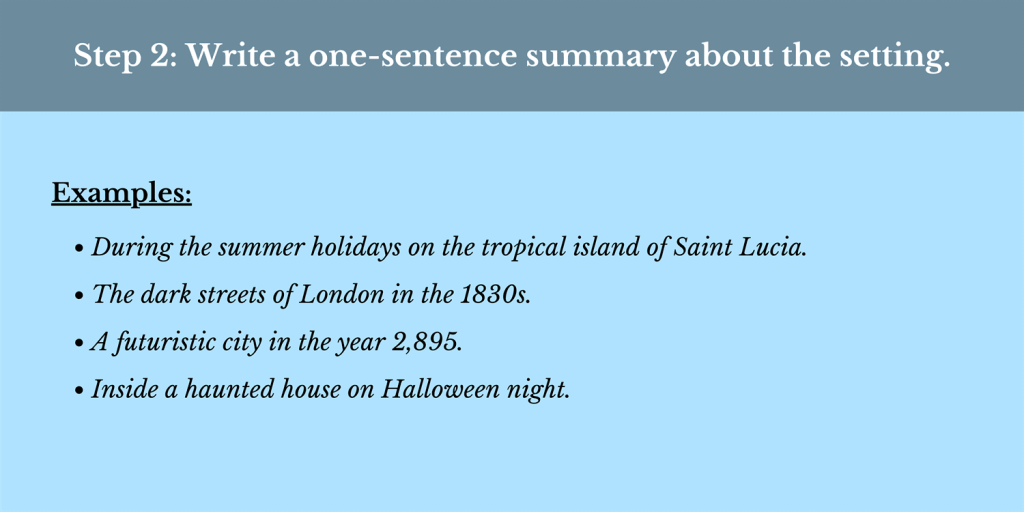
Again you can take an hour to jot down your setting ideas, and then write a one-sentence summary of your setting.
3. Write a one-sentence summary for each main character.
Characters are at the core of any story. Both the main and secondary characters are important. In this step, we ask you to start by listing out your characters. In a bullet-pointed list just write your character’s name and a sentence to describe their role in the story.
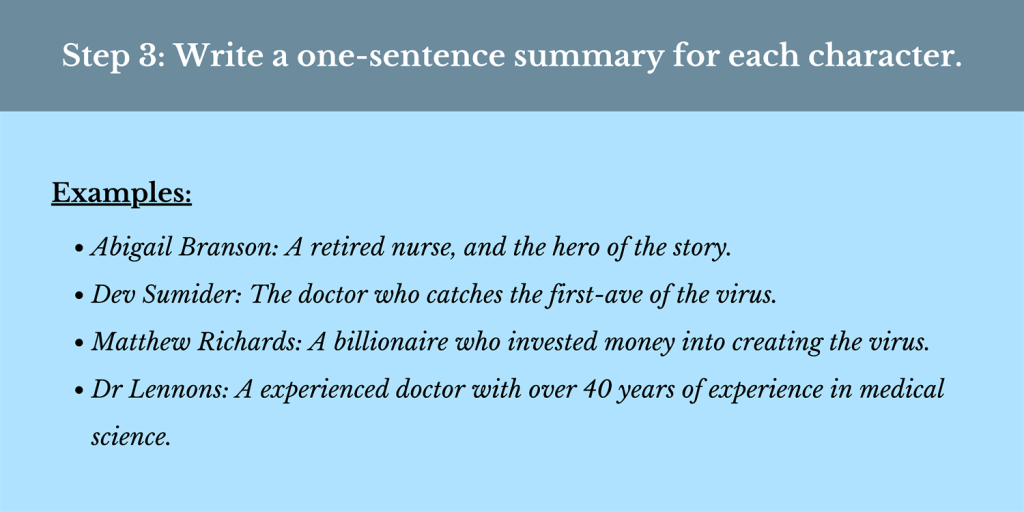
Here are some examples of one-sentence character summaries:
- Abigail Branson: A retired nurse, and the hero of the story.
- Dev Sumider: The doctor who catches the first wave of the virus.
- Matthew Richards: A billionaire who invested money into creating the virus.
- Dr Lennons: A experienced doctor with over 40 years of experience in medical science.
4. Go back to step 1. Expand your one-sentence summary to a paragraph.
By now you have noted down all the important elements of your story. The next step is to add more details to your summaries. Review your one-sentence story summary from step 1. Now your task is to turn this one sentence into a one-paragraph story summary. This one-paragraph summary is similar to a blurb that you would find on the back of books.
Take the following example of Harry Potter and the Philosopher’s Stone:
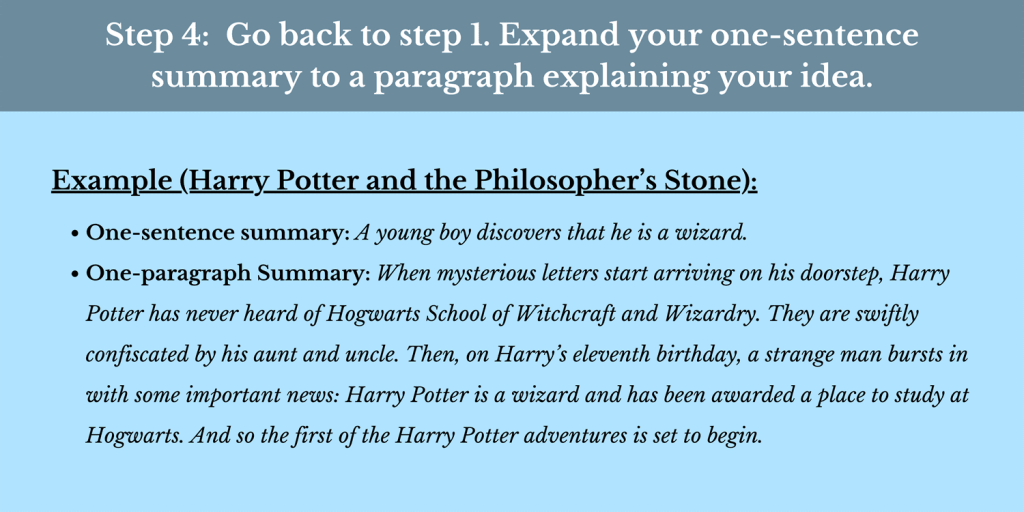
When writing your one-paragraph summaries, you can include your main character, setting, as well as the major conflict or problem in your story.
Here is another example:
- One-sentence summary: A retired nurse discovers a deadly disease on holiday.
- One paragraph summary: While on holiday with her family, Abigail Branson a retired nurse from New York catches a rare and deadly virus. On a mission to save herself, her family and the rest of the world, Abigail has two missions. The first is to find a way to stop this virus from spreading. And her second mission is to find out who is responsible for creating this virus. The sunny island of Saint Lucia has never looked so dark and dangerous.
Here you can see, that we included some details about the main character, the setting, as well as some of the conflicts or disasters the main character will face. We’re now coming close to understanding what this story is about, and a basic structure of how it may be laid out.
5. Go back to step 2. Expand your setting description to one paragraph.
We now need to do the same for the one-sentence ‘settings’ summary from step 2. A setting is not just a physical location, it’s also the mood you are trying to create in your story. For example, a horror story would follow a dark, creepy tone, while a fantasy tale would have a magical and epic feeling about it. With your one-paragraph ‘settings’ summary try to think about the physical location, the mood, time period and link this back to your main character.
Here is an example paragraph summary of the Hogwarts setting in the Harry Potter series:
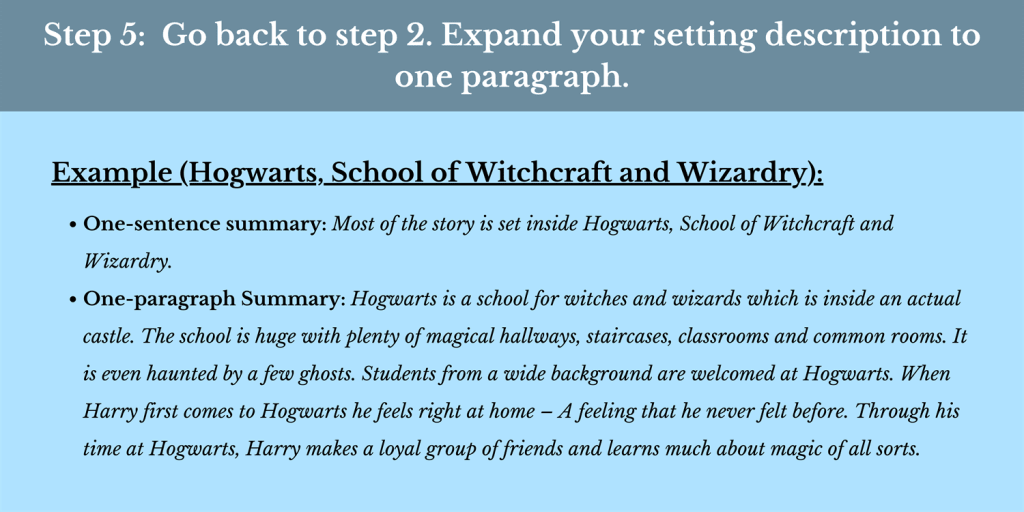
Take a look at this example:
- One sentence summary: During the summer holidays on the tropical island of Saint Lucia.
- One paragraph summary: Wanting to take a break from the busy city of New York, Abigail and her family take a relaxing, tropical holiday to the island of Saint Lucia. It’s the summer holidays, and the beaches are filled with thousands of tourists. Students, families and retired couples are all here to take a break. 2 Days into her family vacation, Abigail starts feeling sick. Locked in her hotel room, bored out of her mind, things soon take a turn for the worse on the tropical island.
6. Go back to step 3. Create a one-page character profile for each character.
Plot sorted. Setting sorted. It’s now time to dig deeper into our characters by creating detailed character profiles for each character from step 3. A good character profile consists of a range of information including the following details:
- Name: Full name, including any middle or maiden names, as well as nicknames
- Age: How old are they, and when is their birthday?
- Occupation: What is their current job title or role?
- Values: What does this character value in life or care about most?
- Motivations: What do they want? What motivates them to do something?
- Goals: Is there anything specific that they want to achieve in the story?
- Conflict: What obstacles or challenges will they face when they try to achieve their goal/s?
- Epiphany: What things will they learn in your story? How will they change from beginning to end?
- Relations: Are they related to anyone in the story? If yes, how are they related? What other relationships does this character have?
- Fears: What is this character scared of?
- Appearance: Is there anything important to note about their appearance?
- Tone of Voice: How does the character speak? Are they confident talkers or shy?
- Personality Traits: List of words to describe the character’s personality, such as shy, confident, short-tempered, forgetful, clumsy etc.
Here is an example character profile for Harry Potter in the first book, Philosopher’s of Stone:
- Name: Harry James Potter
- Age: 11 Years Old
- Occupation: Student at Hogwarts
- Values: Family, Loyal Friendships, Doing the right thing
- Motivations: Good vs evil. Harry wants to protect the family he has gained from any danger. Lord Voldemort has already killed Harry’s original family, so he must protect his new family and loved ones.
- Goals: To leave home, and to leave the Dursley family household. And to destroy Lord Voldemort.
- Conflict: Harry needs to stop Lord Voldemort from stealing the Philopsher’s stone. Harry also feels like an outsider in the Muggle world and wants to fit in somewhere.
- Epiphany: Harry becomes more trusting and patient with others, as he finds new friends at Hogwarts.
- Relations: Harry is the son of James and Lily Potter (Both died when Harry was a year old). In the Muggle world, Harry lives with the Dursleys who are abusive towards him. At Hogwarts Harry quickly befriends Hermoine Granger and Ron Weasley. Both Ron and Hermoine become Harry’s best friends in the first year at Hogwarts. Harry’s rival at Hogwarts is Draco Malfroy – Who is also the school bully at Hogwarts.
- Fears: Scared of losing his friends.
- Appearance: His father’s untidy black hair. His mother’s bright green eyes. A lightning bolt-shaped scar on his forehead. Very small and skinny for his age and wears glasses.
- Tone of Voice: He Stumbles a lot on his words. Quite quiet and reserved. There’s an uncertainty in his voice.
- Personality Traits: Modest, short-tempered, impulsive, competitive and humble.
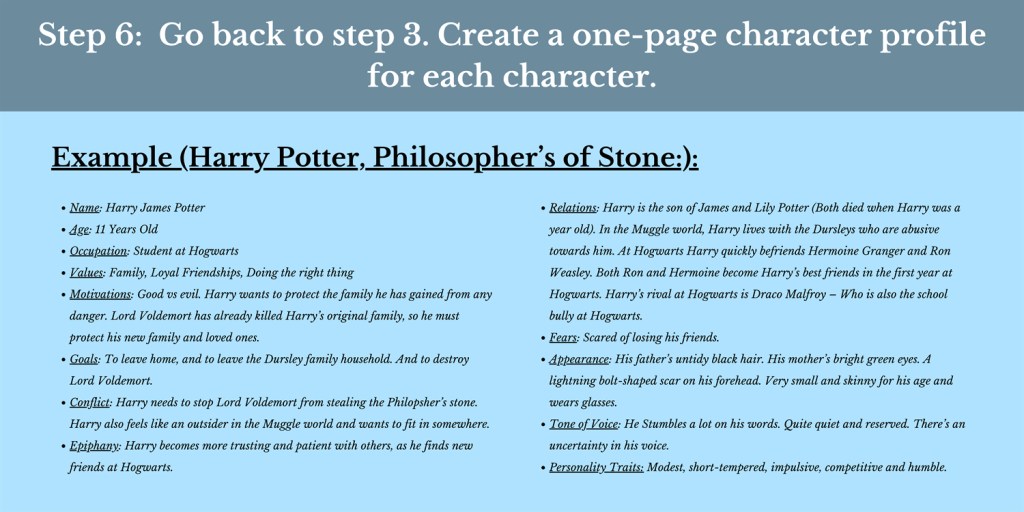
A detailed character profile will help you understand a character’s place in your story, and how they deal with different situations. This can be very handy when it comes to writing your first draft.
7. Make a list of key scenes. Write down one sentence to describe each scene.
At this point, you should have a clear idea of what your story is about. It’s now time to add some structure to your ideas. Begin by jotting down some ideas for key scenes in your story. For each scene idea, write down a one-sentence summary to describe it.
When doing your scene list, think about the beginning, middle and end of your story. What key moments will happen at each stage? You can use your paragraph summary from step 4 and break this down into multiple smaller scenes. An extra tip we find useful is to note each scene idea on a separate sticky note. This way you can easily re-arrange the order of scenes to best suit your story. This also helps you visualise the timeline of your story.
According to Randy, a typical novel could have up to 100 scenes. We recommend aiming to spilt your paragraph summary from step 4 into at least 50 different scenes if possible.
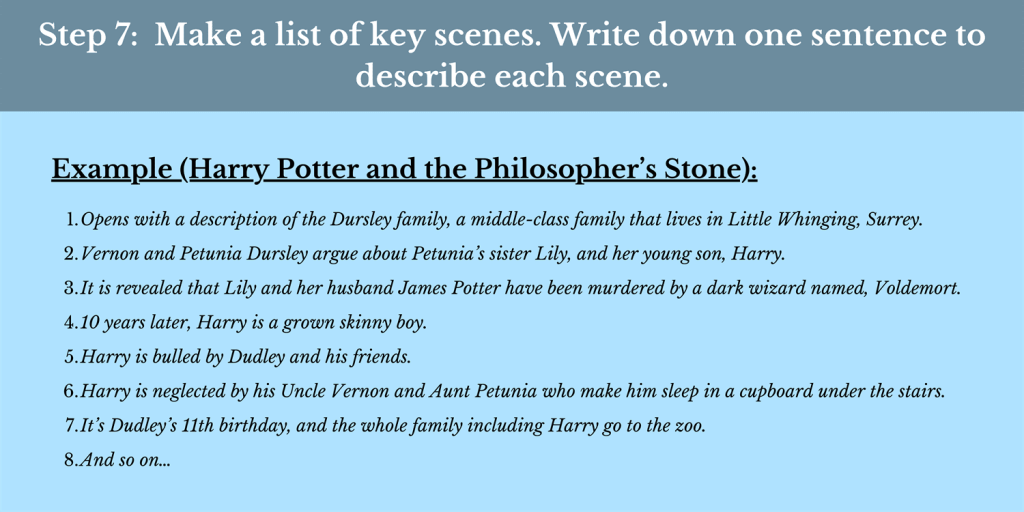
Here is a preview of the scene list of Harry Potter and the Philosopher’s stone:
- Opens with a description of the Dursley family, a middle-class family that lives in Little Whinging, Surrey.
- Vernon and Petunia Dursley argue about Petunia’s sister Lily, and her young son, Harry.
- It is revealed that Lily and her husband James Potter have been murdered by a dark wizard named, Voldemort.
- 10 years later, Harry is a grown skinny boy.
- Harry is bulled by Dudley and his friends.
- Harry is neglected by his Uncle Vernon and Aunt Petunia who make him sleep in a cupboard under the stairs.
- It’s Dudley’s 11th birthday, and the whole family including Harry go to the zoo.
- And so on…
8. Write a 2 page summary of what your story is about.
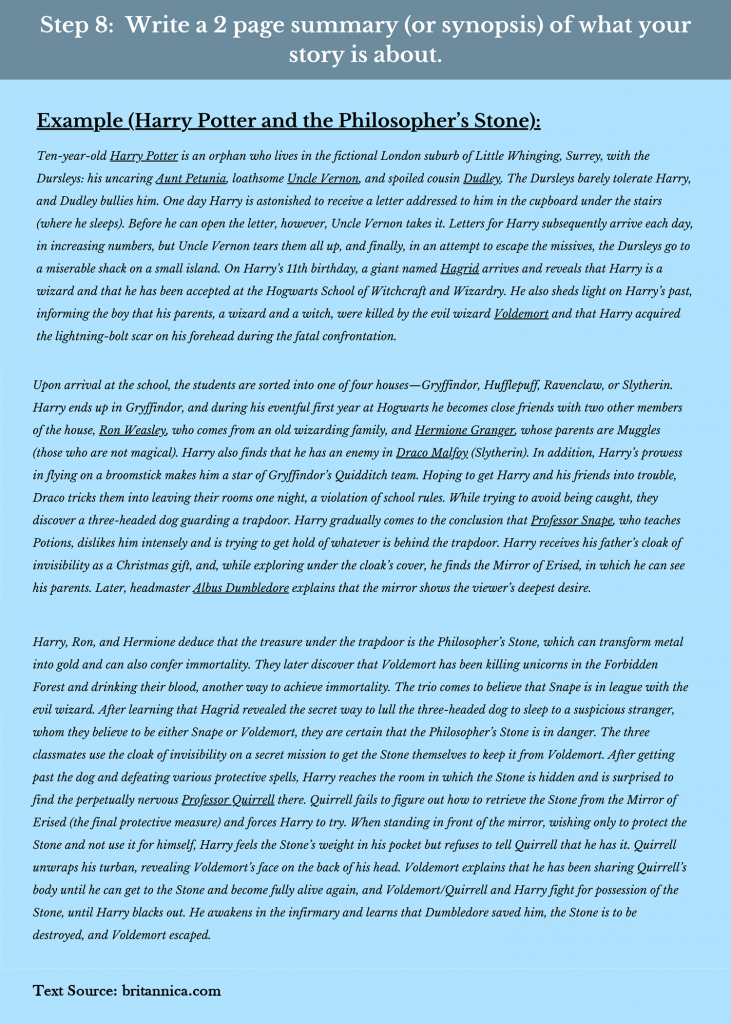
All the nitty-gritty details of your novel have now been noted down. The final step in the snowflake method is to expand your paragraph summary from step 4 into a 2 page summary of your story. This 2-page summary is also called a synopsis. A synopsis is a detailed overview of what your story is about. Professional authors usually need to provide a synopsis when they are looking to publish and sell their books. Most synopses are between one and two pages long.
This 2-page summary (or synopsis) should ideally include the following information:
- Overview of the beginning, middle and ending of your story.
- Avoid including too much detail about the actual plot – A brief summary will do.
- It should clearly mention the names of important characters in bold.
- Not all the characters need to be mentioned – Just the key characters.
- Include any exciting plot twists.
- A detailed description of the setting.
- It should be written in the third person.
Here is an example synopsis for Harry Potter and the Philosophers of Stone:
That’s it! Once you completed all 8 steps, you should have a complete outline of your story idea. You can then use this outline to start writing the first draft of your story.
Benefits of the Snowflake Writing Method
Why is the snowflake plotting method used by writers? There are many benefits for using the snowflake method in writing, such as :
- Considers all the key elements of storytelling. Alternative methods to story planning sometimes forget to include character profiles, scene lists and settings. With the snowflake method, you are clearly considering each of these elements in great detail at every step.
- Easier to manage the planning process. The snowflake plotting method breaks the big task of planning a novel down into easy-to-complete, smaller tasks. And this itself could give you the much-needed motivation to keep on going with your novel.
- Better quality of story-telling. Because the snowflake plotting method encourages you to think in great detail about your idea, there is less chance of having plot holes and other plot issues later on when actually writing your novel.
- Good for idea generation. As you work through each step of the technique, you might even notice some new opportunities for including plot twists or for better utilising secondary characters in your story.
Ultimately with the snowflake method, you are able to write stories with a clear purpose. Since this method, from the very beginning encourages you to summarise your idea in as few words as possible. This not only helps when it comes to selling your novel idea but is also useful in developing unique ideas for stories.
Free Snowflake Method Templates
Now that you know everything about the snowflake plotting method, it’s time to put it into action! Here we have included two different snowflake method templates:

Both these free templates, follow the 8 steps discussed above. Just follow the instructions, and soon you will have the snowflake method plan for your story idea!
Did you find this guide on the snowflake method useful? Let us know in the comments below!



Comments loading...